Atomsk
The Swiss-army knife of atomic simulations

The Swiss-army knife of atomic simulations

This tutorial explains how to cut atomic planes.
▶ For more information, refer to the corresponding documentation page.
As an example, let us use a supercell of diamond with a specific orientation, as explained in a previous tutorial:
atomsk --create diamond 5.431 Si -duplicate 10 10 10 Si_supercell.cfg
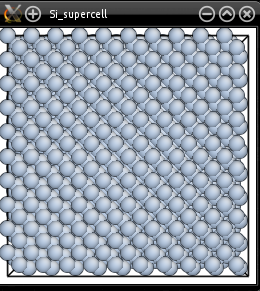
The visualization with Atomeye should yield something like this:

atomsk Si_supercell.cfg -cut above 30 x Si_cut.cfg
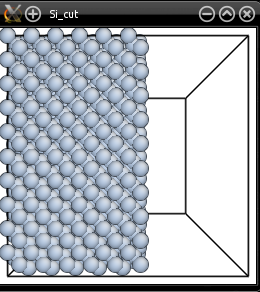
Now if you visualize the new system inside Atomeye, you will see that it has been cut, i.e. all atoms that have a X coordinate larger than 30 Å were removed:

Note that 30 Å is the distance between the origin of the box (0,0,0) and the plane that is used to cut the system.
If you replace "above" by "below", i.e. if you use "-cut below 30 x", then it is the atoms that have a X coordinate smaller than 30 Å that are removed.
You may also remove atoms that are above, or below, a given plane along the Y or Z Cartesian axes.
The option "-cut" also accepts crystal directions expressed with their Miller indices. For instance, if you wish to remove all atoms located above 40 Å along the [111] direction, use:
atomsk Si_supercell.cfg -cut above 40 [111] Si_cut.cfg
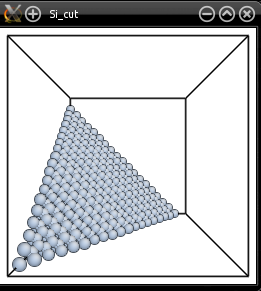
Visualization in Atomeye shows that the system was indeed cut above the given plane:

You may try to cut the system along other crystallographic directions.
Note that Miller indices always assume a cubic lattice.
As many other options, if the option "-cut" is used after the option "-select", then it applies only to the selected atoms.
atomsk Si_supercell.cfg -select above box-5 y -cut above 30 x Si_cut.cfg
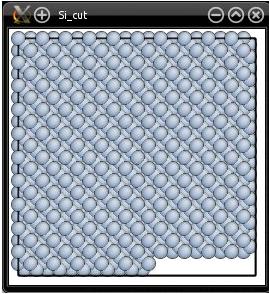
This command tells Atomsk to select atoms that are within 5 Å of the edge of the box along the Y axis, and to cut atoms that have a X coordinate greater than 30 Å. The latter option applies only to atoms that were selected, hence it will result in a step at the surface:
