Atomsk
The Swiss-army knife of atomic simulations

The Swiss-army knife of atomic simulations


This tutorial explains how to construct sheets of graphene, and how to construct nanotubes of different composition (carbon, boron nitride), and single-walled or multi-walled.
▶ For more information, refer to the corresponding documentation page.
The tutorial on unit cells explained how to construct graphite:
atomsk --create graphite 3.21 5.213 C graphite.xsf
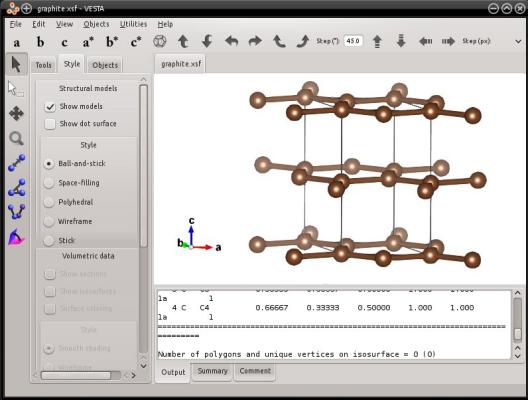
While graphite is a 3-D crystal, graphene consists of a single sheet of graphite and is 2-D periodic. To obtain graphene with Atomsk, just construct a unit cell of graphite and remove everything that is above the first layer along Z:
atomsk --create graphite 3.21 5.213 C -cut above 0.2 Z graphene.xsf
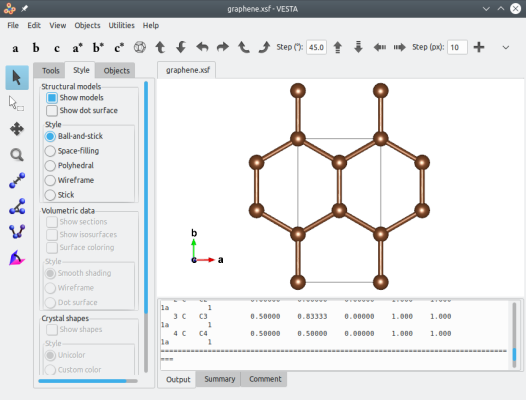
This way, you will obtain a single sheet of graphene, counting 2 atoms per unit cell. Below it is visualized with VESTA, which displays bonds and periodic replica:
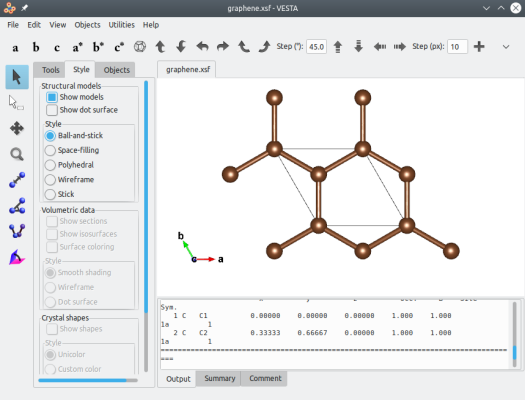
This system has the same cell as graphite, which is hexagonal. If you wish for an orthogonal cell, then just use the option "-orthogonal-cell":
atomsk --create graphite 3.21 5.213 C -cut above 0.2 Z -orthogonal-cell graphene.xsf
After that, you may duplicate or transform the graphene sheet as you like.
With Atomsk, nanotubes can be generated with the mode "--create". The keyword to use is "nanotube" (or "NT"), and it must be followed by the bond length a0, the chiral indices m and n (these are integer numbers), and by one or two chemical species. For instance, to create a (8,0) carbon nanotube using a C-C distance of 2.6 Å:
atomsk --create nanotube 2.6 8 0 C CNT.cfg
Atomsk will inform you that it is a zigzag nanotube, and display its radius. You may visualize the final system e.g. with OVITO:
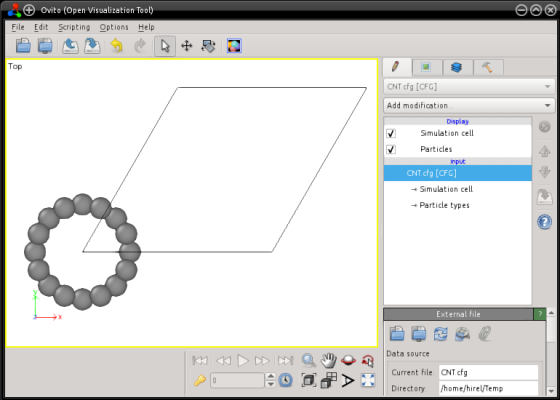
Several things should be noted. First, Atomsk has created a box with hexagonal symmetry. This is because, when nanotubes are synthetized experimentally, they tend to form bundles arranged in hexagons. The length of the box is 4 times the nanotube radius -therefore it depends on the chiral indices (m,n).
Second, the nanotube is centered on the Cartesian origin (0,0,0). Therefore, if you visualize it with a software that automatically wraps atoms (like Atomeye), you will have the impression that the nanotube is split into four parts at each corner of the box. Visualization with OVITO, like above, shows the correct Cartesian positions of atoms. If you wish to center the nanotube, you may use the option "-shift" when creating the nanotube:
atomsk --create nanotube 2.6 8 0 C -shift 0.5*box 0.5*box 0.0 CNT.cfg
This time you will see that the nanotube is centered in the box:

Finally, note that the axis of the nanotube is aligned with the Cartesian Z axis. You may duplicate the nanotube along this axis to obtain a longer version of it:
atomsk --create nanotube 2.6 8 0 C -shift 0.5*box 0.5*box 0.0 -duplicate 1 1 6 CNT.cfg
You may generate different nanotubes, playing with the chiral indices. Nanotubes with chiral indices (m,0) or (0,n) are called zig-zag nanotubes, those with m=n are called armchair, and the others are just called chiral nanotubes. Note that Atomsk will display the type of nanotube that is generated, as well as its radius.
Multi-walled nanotubes (MWNT) are a concentric arrangement of nanotubes of different radii. Considering the way Atomsk constructs nanotubes (see previous part), the most simple way to construct MWNT is to generate several individual nanotubes centered on the origin, and then merge them.
Let us create a MWNT. We already constructed a (8,0) nanotube in the previous section (see first command). Let us generate another nanotube of larger radius, let us say (16,0):
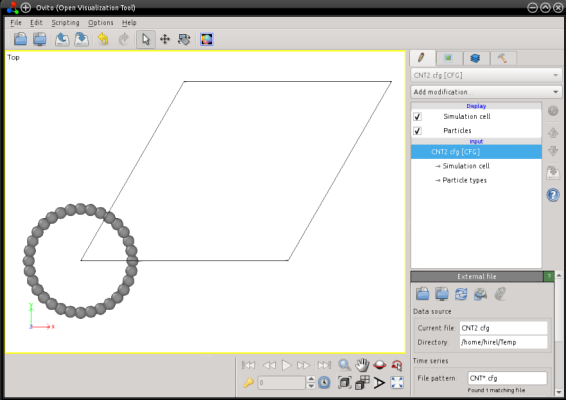
atomsk --create nanotube 2.6 16 0 C CNT2.cfg
As before, this nanotube is centered on the origin, and its box is larger than that of the (8,0) nanotube:
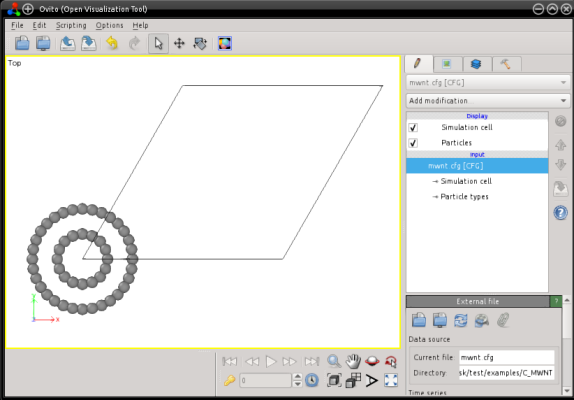
Now, to create a MWNT using both the (8,0) and the (16,0) nanotubes, we use the mode "--merge" of Atomsk. Remember that the mode "--merge" uses the box of the first system you provide, as the final box. So, in order to avoid any overlapping of atoms, it is important to provide the largest system first, and then the smallest one:
atomsk --merge 2 CNT2.cfg CNT.cfg MWNT.cfg
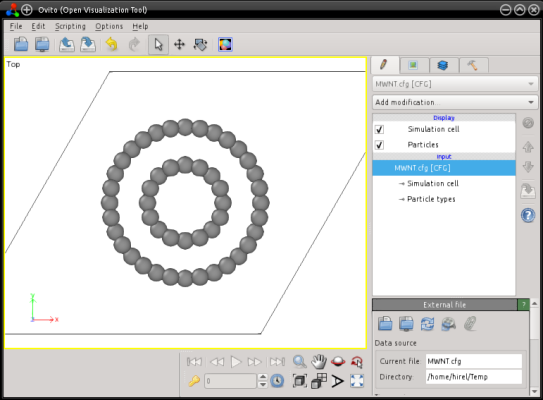
If you wish to center the MWNT in the box, you may do so during the merging process, with the option "-shift" like before:
atomsk --merge 2 CNT2.cfg CNT.cfg MWNT.cfg -shift 0.5*box 0.5*box 0.0
To summarize, MWNT can be generated with the following procedure: first, create each individual nanotube and save it in a separate file; keep them centered on the origin. Second, merge all of them with the mode "--merge", using the largest nanotube as the first system; you may use the option "-shift" during the merge. With this method, you can merge two, three or more nanotubes, to obtain more complex multi-walled nanotubes.
When merging several nanotubes, beware that they should all have the same length along the Z direction. If some nanotubes are shorter than others, your final system may not be physical. In the example above, we merged two zigzag nanotubes, so we know that they have exactly the same length. If you merge nanotubes of different kinds (zigzag/armchair/chiral), then you may have to duplicate them by different factors along Z so that their lengths match.
The mode "--create" allows up to two chemical species when constructing nanotubes. For instance, you may generate boron nitride (BN) nanotubes using the following command:
atomsk --create nanotube 2.6 8 0 B N BNNT.cfg
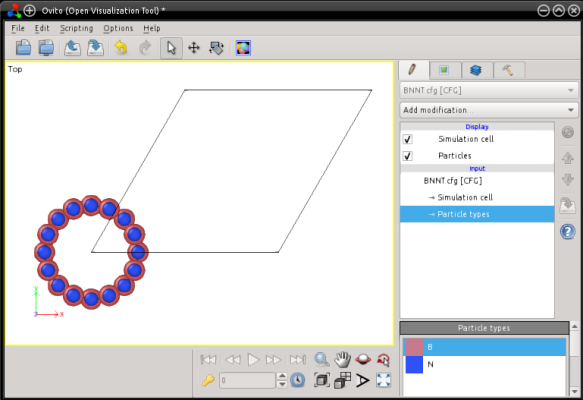
Naturally, you may also center these nanotubes in the box, and merge several of them together to form MWNT.